Owner Builder – Your Questions Answered!

Building

I love to help.

It’s the reason why I started this blog and my Instagram account back in 2019. To be able to share what we have learnt through our varied building experiences. So what better way to help you than for you to hit me with your questions from a topic that’s not discussed very often – Owner Builder! I’ve compiled a list of the most frequently asked questions that slide into my Instagram DM’s, and popped them below.

So here we go, you asked, and I have answered!

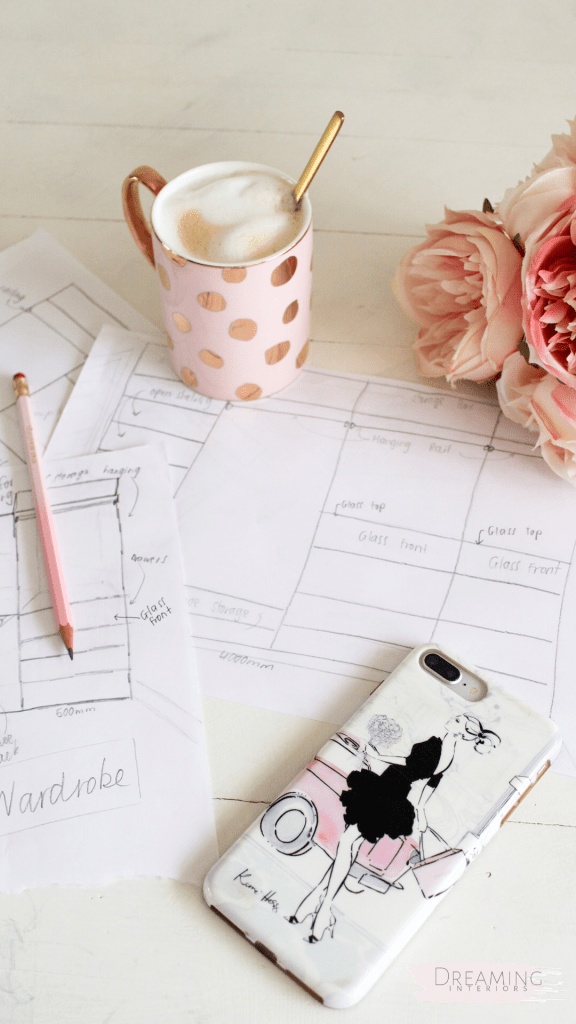
Budget, budget, budget! It’s that dirty word when you’re building. At the end of the day, your budget really is the most important part of your build. You need to be smart, sensible and safe when it comes to where you splurge and where you save.

Before you start, set your boundaries. This allows you to know where you want to sit financially by the end of the build. Some questions you’ll definitely want to ask yourself include:

  1. What is a comfortable $$ amount I want to stay under?
  2. What elements are non-nogotiable…and what elements can I sacrifice? (i’ll talk about this more in another blog – it’s a goodie!)
  3. Do you have room for movement within your budget – or is it firm?

You now have a starting point. It’s time to get cracking on your new best friend – your budget spreadsheet.

Entering your quotes and keeping track of what you have paid, and what you haven’t is ESSENTIAL. If you don’t know what bills you’ve already spent, it is impossible to know how much you have left to play with. You will refer to it often. Some trades came in cheaper that what we had been quoted for, and entering that info into our spreadsheet meant that we knew we could afford to spend in other areas. For example, our exterior moulding came in at $1000 under what we had allowed for, so we decided to use that money to concrete in a wider driveway which is really convenient for us.

If you want to stay under budget, it is essential that you become besties with your spreadsheet and only overspend in areas if you know you have saved in others.

To be able to complete an owner build independently, there are specific requirements that you need to be able to meet in order to get your Owner Builder Permit. One of these requirements is that you’ve participated in training and successfully completed the units. There are a few ways you can do this – online with a registered provider, or as a face-to-face workshop delivered by a registered provider (make sure it is with registered providers – you don’t want to waste time and money, only to find out that you need to do it again because they aren’t certified).

We opted to do the online training. The information that you gain through this course is not a ‘How To’ for owner building. It really just makes sure you are aware of your obligations as the site foreman in terms of safe workplace conditions, and are aware of the legal requirements for your build.

Due to our building experience, we were very well prepared for the ‘how to’ part of the owner build. It was more of the legalities, paperwork, ordering and financial responsibilities that made this different and more challenging to our other builds.

In terms of recommending an ‘Owner Builder Course’, my biggest recommendation would be to talk to as many people as you can who have been there before you. Ask them about their experience with owner builder, their challenges, how they overcame them and anything they wish they had done differently or known before they started. I think advice like this really is invaluable!

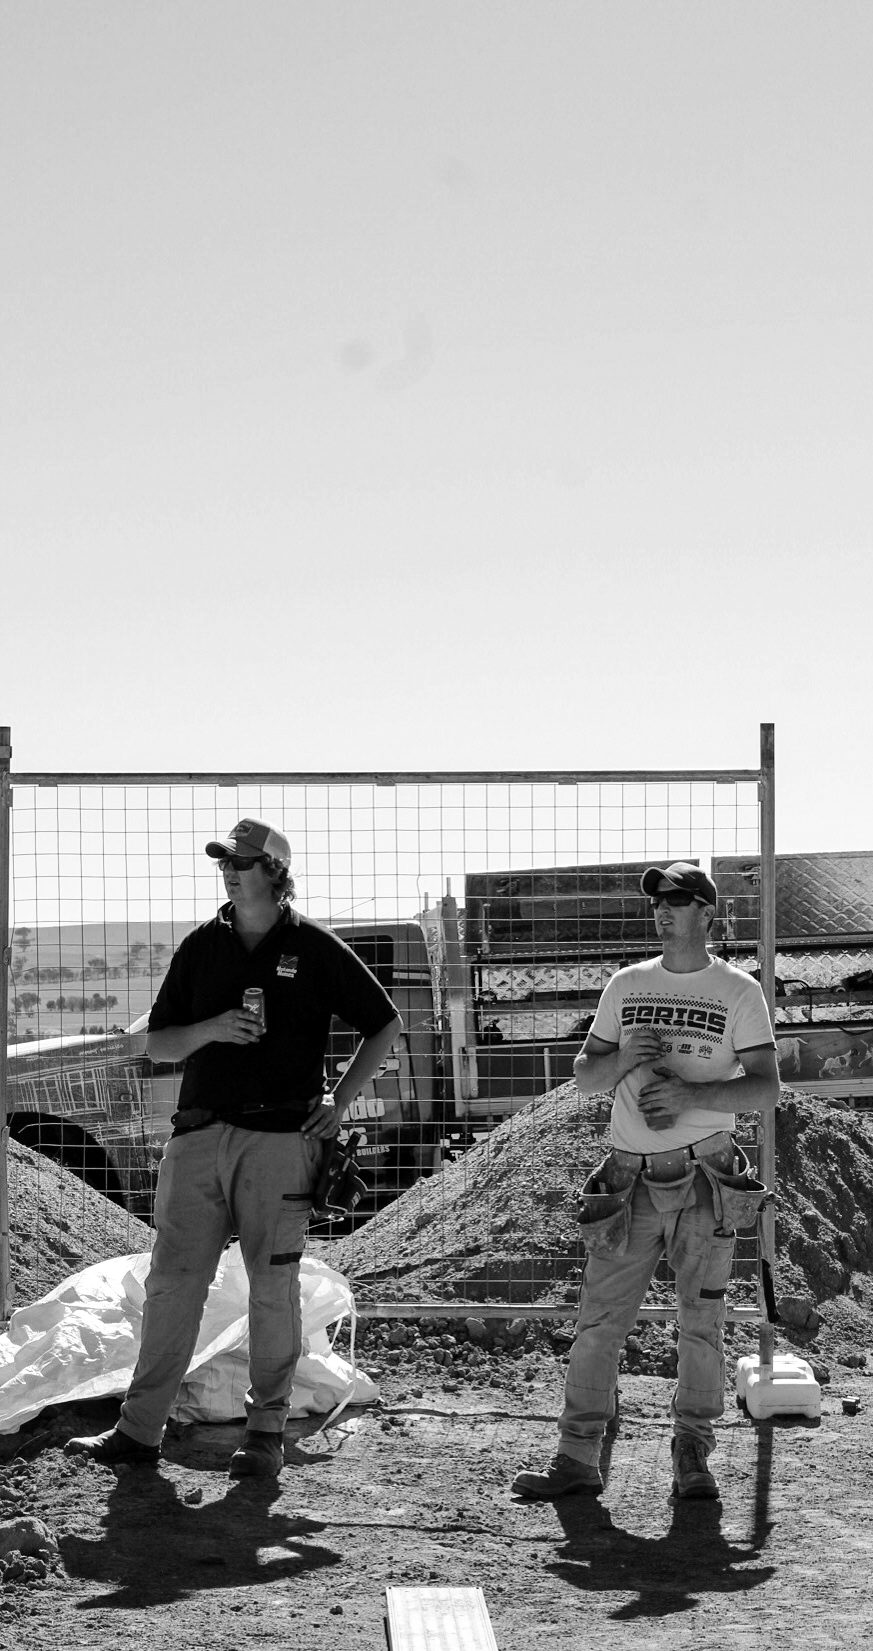
Just when you think you’ve got it all figured out, something tends to crop up and bite you in the budget, so a contingency plan is ESSENTIAL. In fact, if you’re borrowing any finance, your bank will probably insist you have one.

We included a 10% contingency plan into our budget. Thankfully we didn’t need to use it, but it was really reassuring to now that the money was available to use if an emergency arose.

It’s hard! I can tell you, I walk into any shop and within second and without looking at price tags, I’ve managed to find myself in love with the most expensive tile or lighting fixture! What can I say, it’s a real skill.

But it’s also super difficult when you’re trying to stay within in fixed budget!

Firstly, when you are planning your build, you need to decide on elements that are negotiable and non-negotiable. (as mentioned above).

As hard as it is, you can’t always have everything – there needs to be a line in the sand. An example of this – I would have LOVED to have ship-lap ceilings featured throughout the whole build. However, that would have sent our budget spiraling out of control, so we had to reign it in and put them just in specific places that would create impact.

If there was something that really took my fancy and really tempted me to include, I went back to my negotiable and non-negotiable lists to see where they fit in. Was I willing to give up something in order to have them? My freestanding bath and fixed window was far more important to me than a ship-lap ceiling. Having my lists made it much easier to be able to make this distinction!

Also knowing that this is not our forever home really helped when it came to sticking to our budget. At some point down the track we will sell this house and build again. By then we will hopefully be in a position to put everything on the non-negotiable list that we want. For this build, if it didn’t add value to the home when we eventually sell, it sat in our negotiable list. So knowing what your intentions are with the build also really helps.

If you’re an OG, you’ll remember our painter debacle. That nearly killed us on this build!

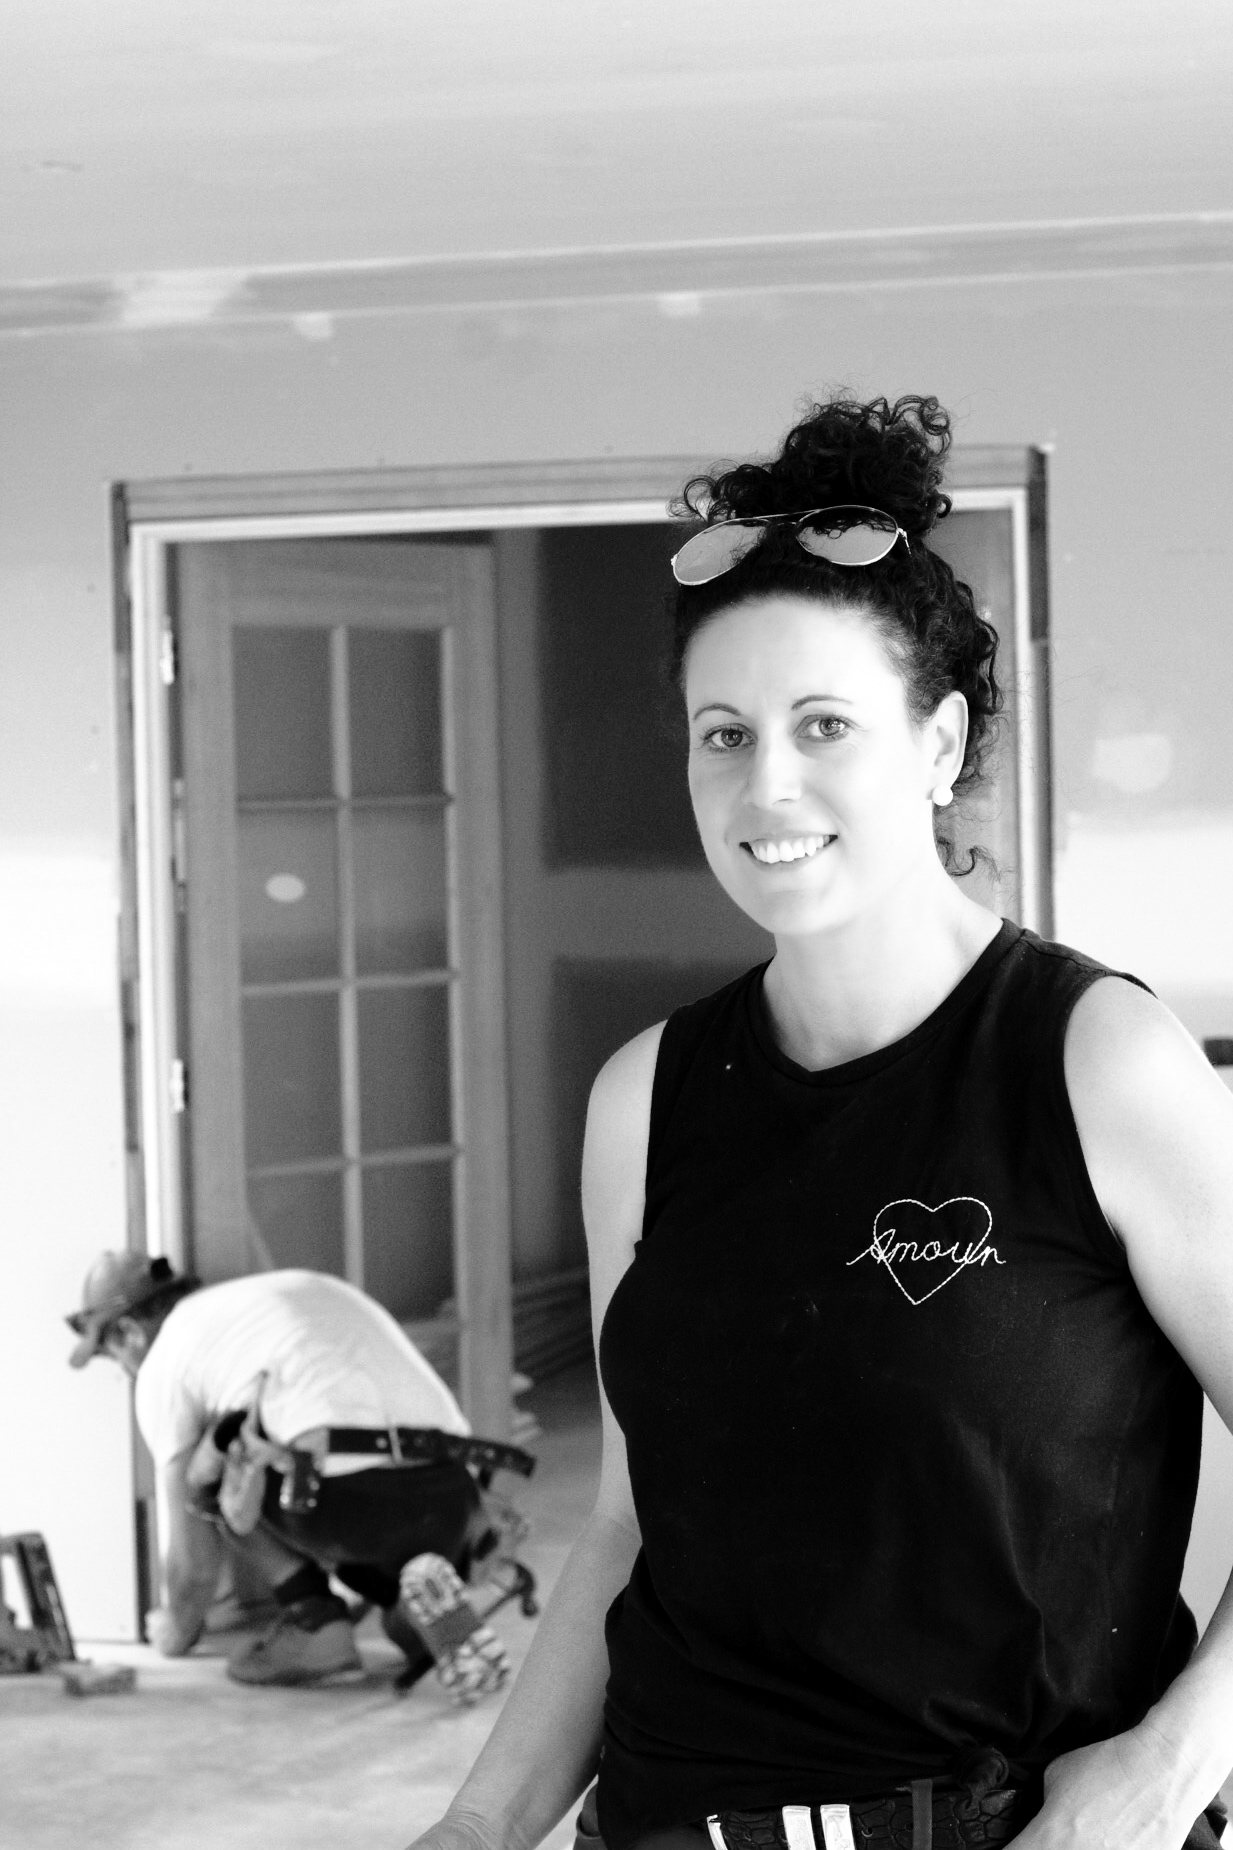
One of the hardest parts is finding trades that treat your home and the building process with the respect it deserves. For us, these 4 walls will be the place we experience some of our highest moments as a family, and also possibly our lowest. We will make memories here and grow and love and learn. To SOME tradies, (definitely not all, there are some AMAZING and skilled trades out there!), it is literally only bricks, gyprock and a roof and they don’t care as much as you wish they did. Having really high expectations and then not having them met is hard. Our motto the whole way through was to be respectful, appreciative and courteous with the way we dealt with everyone and this, I believe, made it much easier when it came to having the difficult conversations.

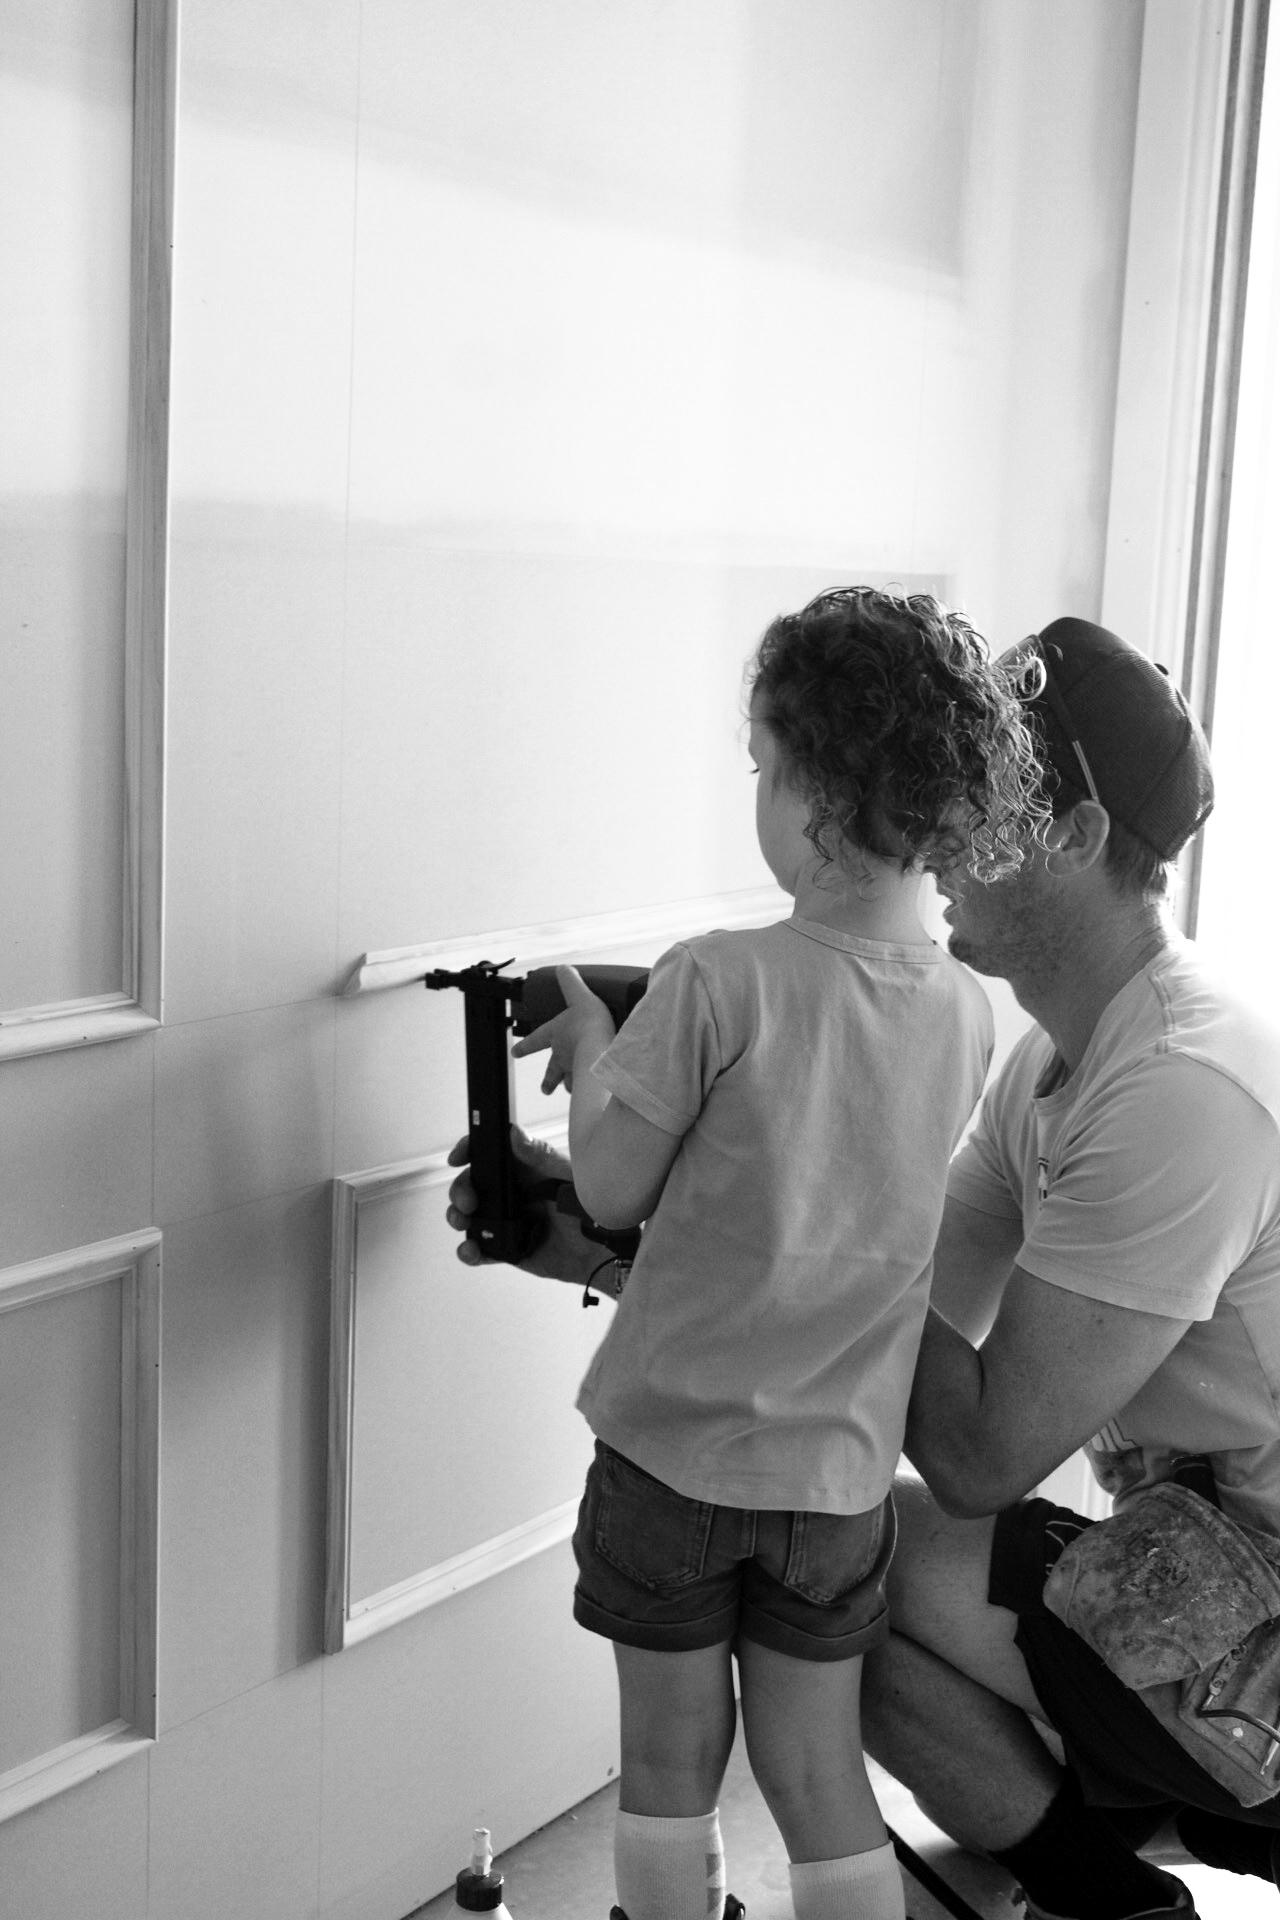
On a personal level, the hours upon hours upon hours that went into this build from both of us was enormous. Dave did the whole build after hours, meaning that he would work his full 10 hour days and then head straight to the block to work on our own build. There were weeks when we would see each other here and there and only communicated over the phone. The organisation was also huge on my behalf. I would find myself on my laptop all day and into the early hours of the morning working through the budget, paying bills, entering receipts, ordering products, checking orders and making sure the correct quantities arrived (this is just the tip of the iceberg – there is so much behind the scenes that is involved!). So time was definitely a real issue for us.

Defining our roles was also a little difficult (I put that delicately, right?!). Being married to the builder meant that his thoughts and needs had to come into the equation when managing the planning and design elements. In a usual build, you just tell your builder what you want, and needless of their personal opinion, they make it happen! I’ll be real with you. Dave and I had many ‘firm discussions’ over this house. I think this is a true testament to how passionate we both are about this whole process. Being able to include what you both want can be a real struggle. And the struggle was real. Thankfully, we are also both really stubborn and the things we went to war about have really made a huge difference to the finish of this house, so they were important conversations/arguments to have!

Without a doubt, the thing that made this whole process easier was the fact that Dave works within this trade. He knows who to use and who to steer away from (with one massive exception, but let’s not go there!). He knew the process like the back of his hand, so knew what order to be booking in trades for it to flow and be completed in a timely way. He also had knowledge of pricing, which was fab when we were getting quotes back in – it was easy to tell where we were getting more bang for our buck. Obviously, not everyone has a husband who is in the building industry, so I would be doing a lot of asking around. Ask other people who have built before and see if they have any knowledge and experience they can share with you. Ask them about the trades they use and if they have any recommendations. Word of mouth is so important!

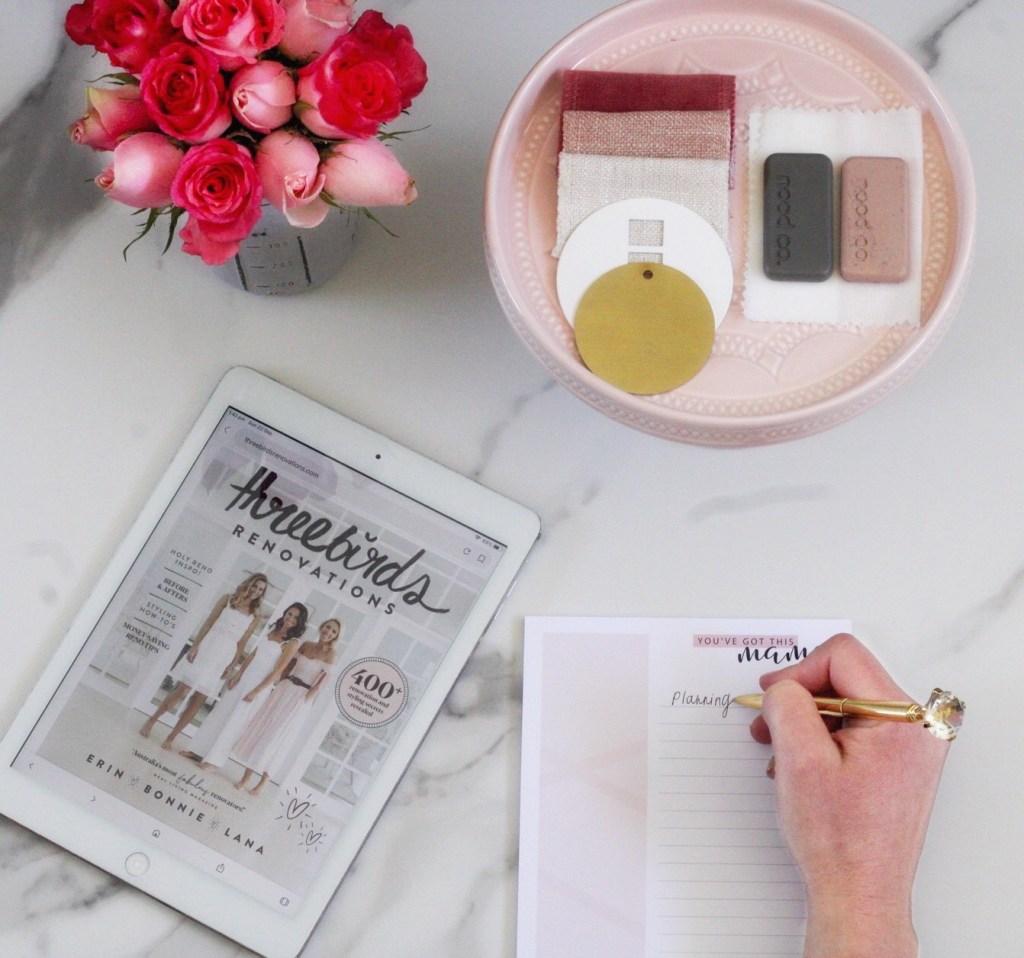
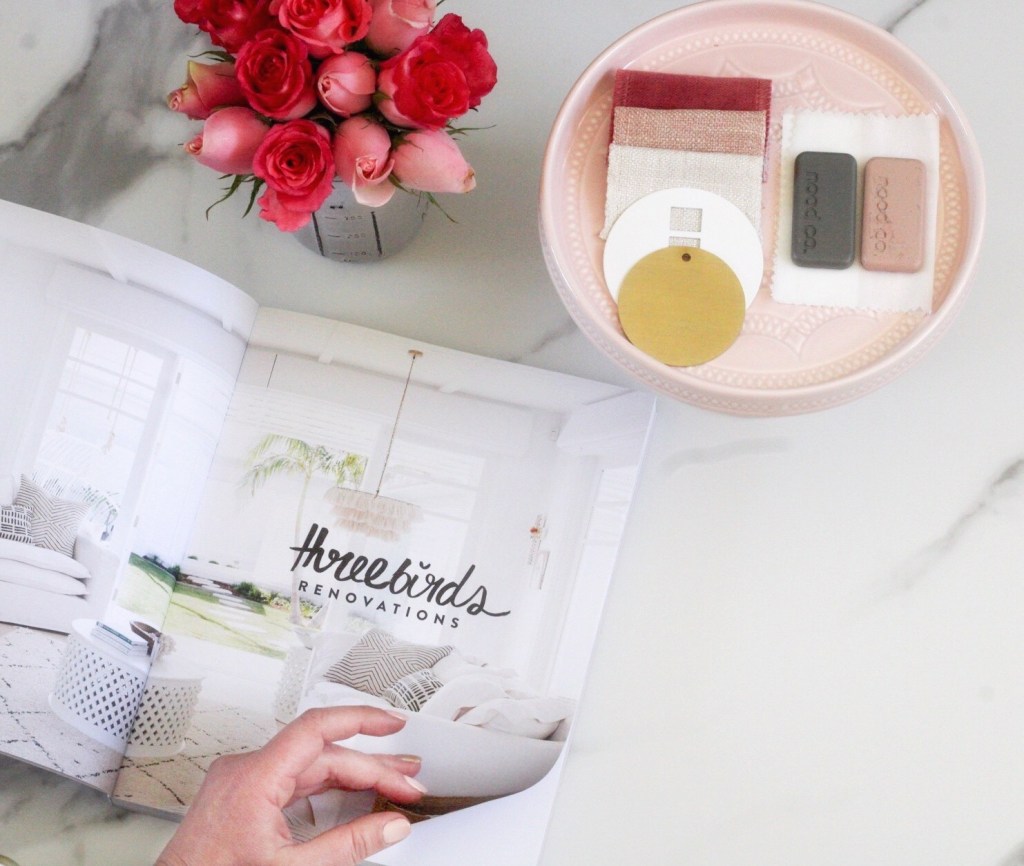
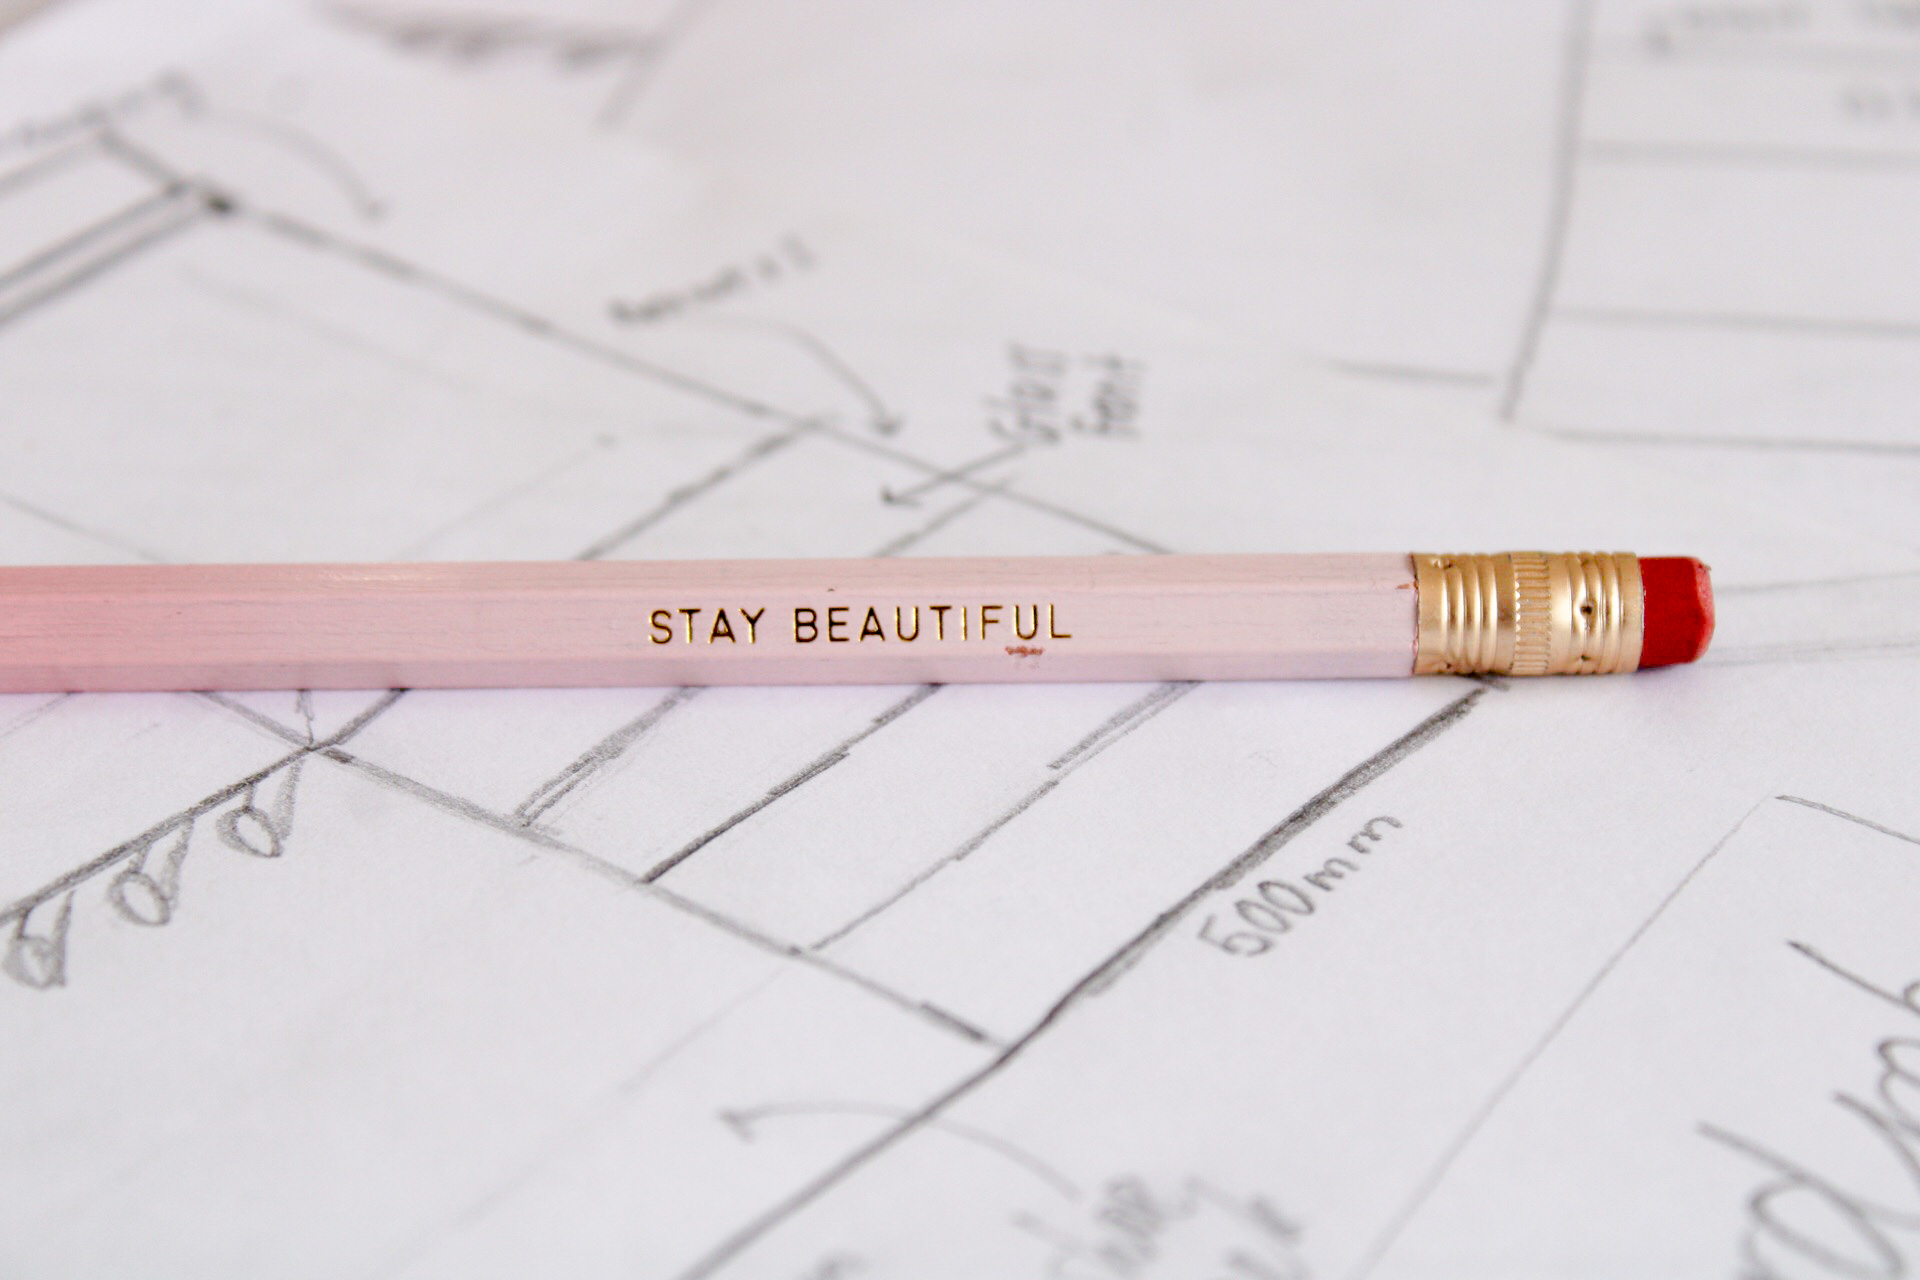
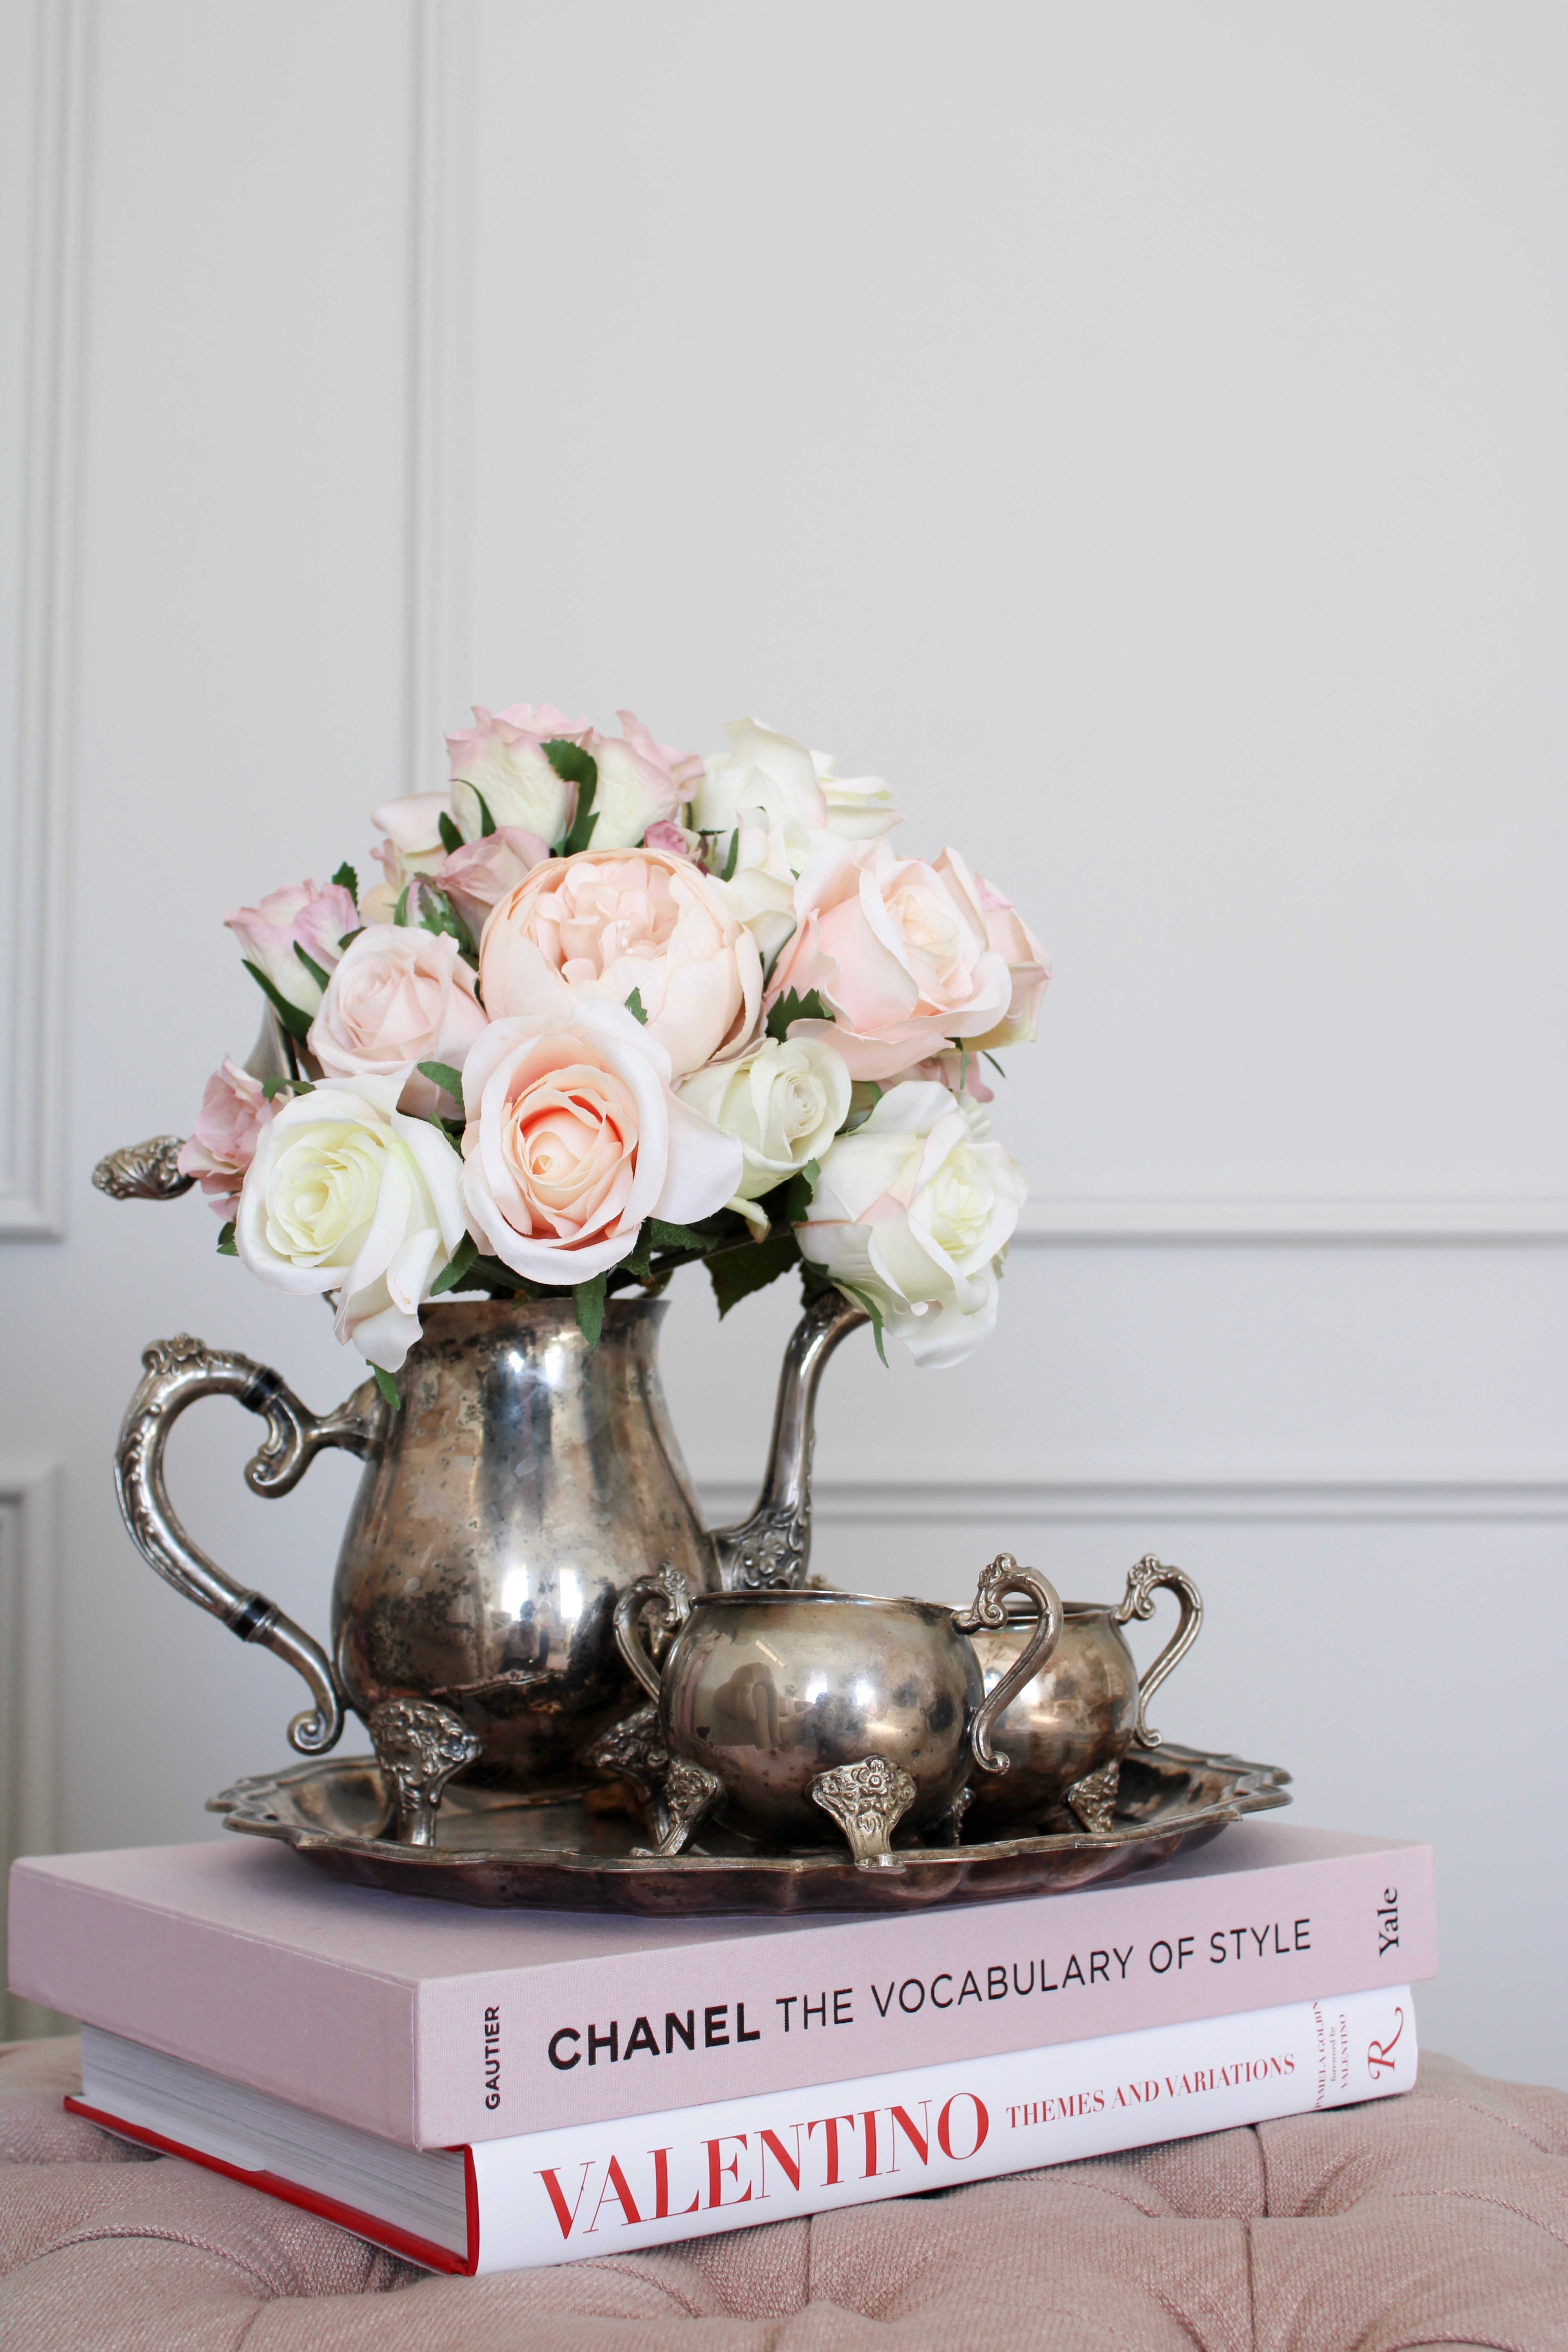
Another aspect that I found quite easy was sourcing products that I loved that would suit our home. If you’re thinking about building, start looking for your inspiration. There are literally so many places to feel inspired. Jump on Pinterest and start pinning. Start buying magazines and tearing out images that you love, or make you feel a certain way. Flick through some coffee table books. Think about the places you have traveled to that made you feel calm and relaxed. What was it that you loved about those places? This is how you want your home to feel.

I always said that I would be real with you…..and the simple answer is…..NO! Not for us. And this is the way that we chose to go about it. For us, we wanted to build a beautiful home and do as much of the work as we could ourselves. This allowed us to have compete control over the finishes (we aren’t fussy AT ALL…..) while also being able to save money on the cost of the build. Dave completing all of the carpentry, us laying the flooring, installing the wardrobe cabinetry etc would all happen on weekends and after work, so the chance for us to be able to do all of this wile still go away for weekends, go for Sunday drives etc was impossible. We wanted to get our house built as quickly as we could so we didn’t have to rent for a second longer (you all know how much I HATE renting!). Getting the house built this was also meant that when it was finished we could really focus on doing things together a a family again. This was the way we chose to do it, which came with a lot of sacrifices, but it has paid off in so many different ways in the end.

Everyone is different and will prioritise different things. It is definitely possible to owner build and still have a life. It will just mean that you would have to be ridiculously orgainised with you time and the build would take a lot longer to complete. But the bonus is that you still get to enjoy time and experiences together. No-one can tell you which way is right, you have to do what feels good for you and your family!

Yesterday! Getting finance for an owner builder project through a bank can be really difficult. In fact, we only found one of the big banks who were willing to take us on. You can go through mortgage brokers, and this is something that we looked into, but for us, sticking with a big bank made the most sense for our financial situation.

Why was it so difficult? Owner Building is considered a really high risk for a bank. If something happens to you, and you are not able to complete the build, and therefore unable to make the repayments, the bank would have a huge amount of difficulty selling a half finished build project to get their money back. The bank we chose to go through (translate that to – the only big bank at the time that was doing Owner Builder Loans) required us to have 80% of the money for the build, and they would loan us the other 20%. Sounds crazy, right?

So honestly, the more money you have saved, or the more investments you have, the better your chances are for getting finance for an owner build. Building through a builder….that’s a different story and FAR less demanding in terms of the money you need to be able to produce up front. We have learnt to be really smart with our money and I’d be happy to share what we have learnt in another blog (let me know below if this is something you wold be interested in!).

Personally, I don’t. And I think this comes down to the fact that my design style is very classic and timeless. I’ve never really been a sucker for a trend…will you still love it in 5 years time?

My natural inclination when we are building has been to create a really neutral pallet that can be easily updated through different styles of furniture, paint choice, lighting fixtures, door handles etc. Because this is not our forever home, I wanted to make sure that I wasn’t isolating future buyers by doing anything that would turn them off (loud paint colours, lairy carpet or bold design accents). However, the most important thing to me was to create spaces that I love coming home to, so it needed to reflect mine and my families personal style. I adore classic design so we installed a lot of wall panelling, used engineered stone throughout the house, painted in smooth whites and installed light oak style flooring etc.

At the end of the day, if you love something, can’t stop thinking about it and it works in with your overall design theme of your home (again with the design boarding!) – do it for you! A tap or a vanity, a wall colour or a door handle can be easily changed down the track!

Yes, yes, YES! A million times over!

Despite the highs and the lows, and would definitely undertake an Owner Builder journey again. Next time we build, we will stay in this house until the next one is ready to move into. Renting is something we both decided we would NEVER do again. It just isn’t for us and our family, and the downfalls unfortunately outweigh any of the upsides (this is our personal experience, and you are absolutely entitled to work this our based on your own experiences).

It has always been a dream of Dave’s to build his own home, and now that we can tick that off the bucket list, it is time to start building new dreams and new goals! Who knows where the future will take us. It’s exciting to think about…And you can bet your bottom dollar that it will involve some hammering, drop sawing, spreadsheets and a few design boards thrown in for kicks!

I hope you’ve been able to gain something fro this blog. I could literally write for hours and hours about our experience and still only scratch the surface. Please let me know in the comments below if there is anything else you’d like me to touch on, I am more than happy to answer your questions and help in any way that I can!

Much love,

Jojo. xx

On Tuesdays We Bake…

food, Lifestyle

Tuesdays are one of my favourite days. Why, you might ask? Aoife and I spend the day together cooking sweet treats. We shop for the ingredients, cook and clean up together. We decorate, and in the afternoon when Dave is home, we pop the kettle on, sit down and have afternoon tea together. It’s really special for me to be able to share this time together with my family.

The past few weeks we have been cooking and decorating cupcakes. I DEFINITELY am no ‘Masterchef’, so its been deliciously easy Betty Crocker cupcakes for the win! When i have found the recipe that i used to cook with my little Irish family i nannied for, i will be giving that a whirl!

You can find everything you need here:

Betty Crocker Cupcake mix here

Pink KitchenAid here

Ladelle Gold Measuring Cups here

Wiltshire 12 muffin pan here

Wiltshire Wooden Handle Spatula here

Maxwell Williams Gold Cutlery Sets here

Target Gold Rimmed Bowl here

Maxwell Williams Round Gold Rimmed Platter here

Sprinkles and decorations – assorted supermarkets

I hope you have as much fun cooking with your little loves as we do each week! Everytime that we cook, the more confident I am getting to try new recipes and ideas in the kitchen. I have an amazing cookbook that i can’t wait to sink my teeth into…maybe my fave cookbooks should be my next blog post…

Happy cooking!

Top Tips for Packing + Moving

Building, Home

By now, I would consider my family professional packers and movers. We have moved 4 times in 4 years…and counting. I guess we have kind of earned that title.

And from this self proclaimed professional packer (try saying that fast five times), I am here to offer up my 14 Top Tips For Packing + Moving!

Time is everything…and give yourself plenty of it! Packing ALL OF YOUR EARTHLY POSSESSIONS into little boxes is no easy task. Moving house can also be a really emotional time. So don’t put extra pressure on an already stressful situation by leaving it to the last minute (says the queen of procrastination…..).

In life we’re always told to THINK BIG. DREAM BIG. ACHIEVE BIG. But with moving I am here to tell you the opposite *gasp* and…….think small! Break the packing into small, manageable tasks. Plan to pack a certain cupboard at a particular time. Once that’s done, pat yourself on the back (trust me, you deserve it!) and move onto the next small manageable task. Before you know it, you will have completed a whole room. And then the next room and the next and then the whole house! If you’re a real freak like me, you can make yourself a planner with specific rooms you want to complete on certain days. I tell you, there is NOTHING more satisfying than ticking that bad boy off, room by room!

I ‘aint no Marie Kondo, but girl….it’s time to let go of the things holding you down and stressing you out! I have a little rule of thumb, and it’s got nothing to do with holding an item close to my heart and whispering things to it (thanks Marie, but no thanks): if I haven’t used it, worn it or needed it in the past 12 months, it’s time to say goodbye. Obviously there are certain exceptions to the rule – sentimental items and things that I genuinely love stay etc. But there is no way in hell that I am sweating and swearing and lugging boxes of things that I don’t love or need from one house to the next. It goes before I go (before I move from the house, I mean. I’m not planning on dying any time soon).

I know what you’re thinking…..”Now hold on for a hot damn second, crazy lady….you’re telling me to orgainise BEFORE i move? BEFORE? Are you insane?” (my answer to that is, technically no, but my husband might tell you different..) I feel like moving to a new house is a chance to have a fresh start. Start anew. Turn over a new leaf. SO when i say to get organised before you go, i mean to start planning your storage solutions in the new place. If you are able, spend a little bit of time in the new place with a measuring tape and a clip board. Have a think about where certain items will be stored. Do you want them tubs or loose in the cupboard? If you’re thinking tubs, definitely measure the height of your cupboards to then be able to find a storage solution that works for you. Trust me, there is NOTHING more annoying than thinking you have found the perfect tub to only find that it doesn’t fit. So do the leg work before you get there!

It took me a little while to figure this out…buuuuuut……find smaller boxes, rather than large ones. Why would you want to do that? Smaller boxes will fit less!I used to pack everything into larger boxes, thinking it would be handier to pack a lot away in the one go. However, try lifting a HUGE box of books. 2 smaller ones are much more manageable to carry yourself.

So where do you find your boxes from? There are a few places you can try. Friends and family that have moved before you. I can guarantee that they’d only be too happy for you to take them off their hand. Also, if you contact the bigger homewear chain stores, they are happy for you to collect their boxes after they have stocked their shelves…their boxes are always really sturdy and it’s so much better for the environment to re-use.

Get groups of things together. Collect up all your faux flowers for one box. All your trays for another. Your coffee table books in another. That way, when you are unpacking, or looking for an item in particular, you will know that your Tom Ford book is inside the box labelled ‘coffee table books’, rather than searching through 17 different boxes that have all sort of assorted books in them. Also, putting your items together is also a good way of you to take stock of what you have. Do I really need another Chanel coffee table book when I already have 5?

(p.s. the answer to that question is ALWAYS YES!)

May sound obvious, but always wrap up your precious pieces, even if you’re only moving around the corner. It would be so sad to get to your new place, excited to unpack your special things, to find them in a shattered mess in the bottom of the box (not to mention glass poking through a box when you’re moving it is never a good idea). Wrap it in whatever you think will keep them protected. I never pack a box of towels or tea towels or blankets. I always use the bigger towels or blankets as buffers between furniture or paintings, or for my tea towels, I use them to wrap smaller items. You’d be surprised how much you look for this stuff on your actual moving day, for a bit of protection on your furniture. If I was given a $$ for every time Dave asked me ‘Have you got something I can use to pop here….” I would be a very rich woman indeed!

You can also start collecting newspapers to wrap glasses etc and can buy bulk bubble wrap from wholesale packaging stores, rather than Bunnings or Office Works – they tend to charge more. Shop around! And remember to save it for next time, that stuff isn’t cheap!

After you’ve taped up your box, label it straight away. Write straight onto the tape (i’ll explain why in a minute). Write where in your house it is going e.g. Living room, master bedroom, bathroom etc and what is in it in smaller writing underneath. If you write which room it is going into, friends or family that are helping you cart boxes won’t be asking where you want it to go. Also, tape up and label straight away. Honestly, in the time it takes to tape the box and reach for the permanent marker, I can tell you that I’ve completely forgotten whats inside (that might just be me. Baby brain 5 years later is still a thing, right?). Don’t kid yourself into thinking that you’ll remember based on the size and shape of the box. You’ll have a mountain of them!

Back to writing on the tape. If you’re a habitual mover like us, this won’t be your first, or your last rodeo. You might need to use your boxes a few times over. Writing on the tape means that you can pull it all off when you’re flattening your boxes to store them. When you come to use them for the next move, you don’t have a whole scribble of ‘where’ and ‘what’ from last time. Feels like a fresh, new box.

You’ve got yourself some full boxes and some emptied rooms, whoop whoop! Now what to do with them? You’ve got a couple of choices here, and which ever option you go with will be what works best in your personal situation. I like to move boxes out to the garage as soon as they are packed, to make room for the next box. Completely emptying a room, and looking around to see just the furniture left feels like you’re really getting somewhere, achieving things and making a difference. When you put them in the garage, try to collect them room by room. E.g. All the pantry stuff here. And all the toy room boxes there. That way when you come to actually move, you’re not jumping from one room to the next and all jumbled all over the place. You’re making trips to and from the same room without having to think too much.

However, putting boxes in the garage might not be an option. So I would suggest stacking them in the middle of the room. You’ll be able to clean around them (vacuuming and wiping down skirting boards is SO MUCH FUN, right? *insert sarcastic tone here*.

Here I am….stating the obvious…but don’t stack your boxes too high. Or too heavy. Put the bigger, heavier ones on the bottom and the lighter,smaller ones towards the top. There is no greater feeling of panic than when you see the Leaning Tower of Boxes start to crumble and tumble.

Start shopping in your pantry for dinner ideas in the weeks leading up to moving. My hubby had a bit of a thing for curried sausages a while back, so when it was his turn to do the grocery shopping, he’d always buy a jar of ready made curry sauce (don’t know why he bought it, don’t even use it). However, I’m not chucking it out, so one of this weeks meals is going to be curried sausages. The less stuff I have to box up and move, the better. Check out what you have in your pantry and in your freezer and start using it up!

When it comes time to actually move, you’ll want to try and have most of the things in your fridge used up. But there will always be that pesky half bottle of milk and tub of butter that is not worth throwing away, and will be SO HANDY when you wake up on your first morning in your new place looking for tea and toast. We have one of those plug in portable Engels that you can use for camping etc. We’ll have our fridge empty and the left over bits popped int the smaller Engel. If you don’t have one, grab an Esky and some freezer blocks and you’re good to go.

Remember though, some fridges need to stand a while after moving them, before you can plug them back in again, so you’ll need some kind of back up to keep things cool while you wait.

We have moved a few different ways. And I sure as hell know which is best!

1. Do it yourself. Dave and I have moved everything from one house to another house all on our little old selves. And we had a LOT of furniture! We are a little insane, and hate asking people for help, or hate to inconvenience anyone. We started at the crack of dawn and were pretty much finished by about 9pm. HOWEVER, it was bloody hard work and we almost got divorced on at least 12 different occasions. Dave also had a bed frame fall from quite a height straight onto his head ( I sit here giggling to myself cause DAMN it was funny! Unfortunately for both of us, it didn’t knock any sense into him, and he also didn’t find it as funny as I did. I honest to god was IN HYSTERICS. (now that I think about it, this might have been one of the times we almost got divorced). If you know me well, you’ll know that I laugh out of control when someone hurts themselves. Yes. I am evil. But DAMN that shit is funny! Also unfortunately, he thought he might have knocked himself out for a few seconds, and possibly need to be taken to hospital. Thankfully he did survive and got to spend his first night in his own bed in the house he had spent 6 months building. Couple of takeaways from this experience. 1. Don’t be an idiot. Ask for help. 2. strap tall objects to side of truck. 3. help husband rather than wet pants laughing.

2. Ask Friends and Family to help. No brainer. See above for cautionary tale.

3. Hire Removalists. I have just discovered this one for this move….you can hire removalists by the hour, rather than by the house. I am going to be moving all the manageable boxes by my self during the week, and getting the removalists in to do the bigger furniture pieces, fridges and beds for a few hours on the morning of our moving day. They’ll come around to your house and give you a quote of how long they expect it will take and how much. It’s definitely worth looking into this one!

Moving is a HUGE task. It can be overwhelming, stressful and a very emotional time. The chances of forgetting to do something important can be really high. So I’ve thought about how I can help you out with this…and I’ve come up with a moving checklist! (you know how good it feels to tick things off, right?!).

You can click below to download. Make sure you tag me in your Insta stories when you use it – I would love to see how it is helping to make your move a little smoother and a little less stressful!

Embrace this new chapter in your life and make the most of it! It’s a new place, a new beginning, and literally, a new door opening for you!

Happy packing!

Jojo. xx

Planning the Perfect Wardrobe

Building, Styling

Ever seen one of those AMAZING ‘instagrammable’ wardrobes, fallen a little in love and then said to yourself ‘as if it really looks like that!’ Surely it’s not possible to have a walk-in-robe that looks good but also actually functions well too, right?….I’m here to tell you that IT IS possible to achieve with a little forward planning. I’ve put together my top 5 tips on how to create the perfect wardrobe using the IKEA PAX system. I’ve used it in 2 of my builds and they really are worth the money and time you invest in getting them juuuuust right.

I’m hearing you loud and clear…I asked a little while back what was your biggest frustrations about your current wardrobe, and the OVERWHELMING response was that you don’t have enough space….and I guess there are three possible reasons for that:

a) the space you have is really limited

b) you have too much stuff

c) your wardrobe isn’t functional, so it feels overwhelming

One of those is really easy to fix (it’s time to ditch those neon leg warmers, Jessica) by some serious decluttering, Marie Kondo style. The other 2 take a little more leg work. So i’m going to offer you my 5 top tips for planning the perfect walk-in-wardrobe!

Get your mind out of the gutter girlfriend, it’s time to get jiggy with some numbers and figure out the actual space you’ve got to work with! If you’re a perpetual planner and if you are in the beginning stages of building a new home or renovating a current one, this is the perfect time to investigate and plan for the type of wardrobe that you want. If you know that you will be having a wardrobe custom made and installed by a tradesman, this makes things a little different – the cupboards can be made to suit your space. However, if you’ve decided to go down the path of installing an IKEA Pax Wardrobe system, start researching their sizing. The cabinet frames, or the ‘shell’ as i like to call them, is available in a few different widths and depths. If you can, plan the size of your wardrobe around this. I always opt to go with the 600mm deep shells, as they comfortably fit the size of your standard coat hanger inside it. Going anything smaller can mean that your clothes and hangers start poking out and that would send me and my OCD over the edge.

To give you an example, i’ve popped a plan below of a walk-in-robe i have designed.

To me, natural light is everything, and I wanted to make sure I had enough room for a 610mm window and it’s architraves, plus the depth of the IKEA PAX system which is 600mm.

If you’re already in your home and just looking at updating your wardrobe only, and not to renovate and reconfigure etc, grab your measuring tape and some masking tape and start mapping out some sizes. Physically taping the outline of the PAX system onto the floor will allow you to see if you will still be able to walk around inside of your wardrobe. Cause…you know, that’s kind of essential. As Shayna Blaze says, “…it really is all about functionality…”

While you’re measuring, be sure to check the height of your ceiling as well. The PAX system comes in a few different heights. We got stuck with this once as we had a bulk head in our walk-in-robe…shucks, we forgot about that bad boy! Luckily, Dave was able to knock the bottom of the wardrobe off with nothing but a hammer and a few choice words.

Another thing to consider when measuring – do you have skirting boards on your walls? If you need a tiny little bit more wiggle room to make that sucker fit, you can always ditch the skirting boards…you won’t see them behind the cabinetry anyway and it might give you the extra millimeters you need to make it work.

Functionality…I’m talking about FUNCTIONALITY! Now it’s time to figure out how you want to use your wardrobe. I like to do this by figuring out what is working well, and what is driving me BAT SHIT CRAZY about my current wardrobe. For example, my current wardrobe (we are in a rental while we build and it is literally KILLING MY SOUL!) has no place for me to store my winter wardrobe. You know, all the bulky jumpers, jeans, jackets and coats that take up all the room….SO in my planning for my next robe, I made sure I included some shelving right up the top to pack these things away. Out of sight, out of my way. I had this system in the last build and really loved that I could be a bit more seasonal with my clothing and rotate clothes in and out as I needed them, freeing up more space.

Another thing that is currently annoying me, is that i have nowhere spacious to organise my jewelry. I like to be able to see what i have so that it is easily accessible and is actually worn. No point sitting there collecting dust! So in this next robe, i have included some glass front and top drawers to display my bits and bobs.

Some things you might want to plan for, that I know are driving you guys crazy (thanks to your answers on my Instagram questions!): scarves, hats, shoes, jewelry, handbags. I’ve popped a few solutions below that might help:

Basically, turn your negative storage problem (current lack of jewelry organisation) into a positive by making sure you include a storage solution in your new walk-in-robe plan!

Instagram account featured on my phone is @rosaaalieee

Get pinning, lady! Don’t tell me you don’t have Pinterest…that’s almost a crime against humanity in this day and age. If you don’t *gasp* have an account – go immediately and set it up!. It’s free, but more importantly, your next inspiring pin is just a simple scroll away. Pinterest is LOADED with amazing inspiration on literally almost any topic you can think of.

A good start is searing for ‘IKEA Pax wardrobe‘. Heaps of ideas and different layouts will crop up. You could also get much more specific and search for ‘jewelry organisation‘ or ‘shoe storage‘ etc. Maybe also try the style or theme that you’re looking for e.g. ‘luxury walk-in-wardrobe‘, ‘boho walk-in-wardrobe‘ or ‘hamptons walk-in-wardrobe‘.

Once you have searched, scrolled and pinned, go back and have a look at what you’ve been drawn to. Is there a similar theme? Colour? Layout? Try and find similarities in the things that you like and pin-point what it is that you love about it. It might be something as simple as all the cabinetry was white. Or all the pics included lots of drawers. You might like that the shoe organisation was on show. Or that there were shelves to display your favourite pieces. Make a ‘Wish List’ of these specific things – it will definitely help when it comes time to draw up and tick off your wish list.

Be sure to take inspiration from yourself too…sounds a little corny right? But take note of your own wardrobe to guide you. What type of clothes do you have a lot of? You might be a real dress kinda gal, and therefor need more room for longer dresses. Or you might have a real thing for shoes, and want to show them off in all their glory on a display shelf rather than sitting on drawers. This wardrobe is being DESIGNED FOR YOU so your preferences for certain clothes and accessories should be what guides you.

All images sourced from Pinterest

If you’re really set on getting your wardrobe EXACTLY right, i would highly recommend creating a design board. You can create a physical design board, where you print or cut our pictures and pin them on a pin board together, or glue them on a piece of cardboard. Alternatively, you can create a digital design board (what i prefer to do for each space) and collage your images there. I’ll pop below the design board i have created for my walk-in-robe.

Grab a pencil and a piece of paper (yep, get old school) and start drawing! Check that ‘Wish List’, refer back to your Pinterest inspo and get going. It might take you a few drafts to get it just right, so don’t be too hard on yourself if it doesn’t turn out perfect first go around. Label your drawing so you know exactly what you were including when you come back to refer to it later on. Be sure to include dimensions and heights of the space you’re working with – trust me – these dimensions will come in handy later on down the track when you are doing that final check.

When you’re drawing, some elements you might want to include are:

  • drawers
  • drawers with glass fronts
  • drawers with a glass top
  • shorter hanging space for tops
  • longer hanging spaces for dresses
  • pull out shoe drawer
  • pants organiser
  • overhead storage
  • open shelving
  • scarf organisation
  • jewelry organisation

If hand drawing isn’t your thing, you can definitely head to the IKEA website and create your dream wardrobe from there. however, i prefer to do it a little differently…..

In my opinion, go in-store with your final drawing and have the wardrobe assistants at IKEA do the ordering. I’ve heard too many horror stories of people who have ordered the items themselves online and they’ve come to assemble it and found that they forgot to order the shell, or thought they had ordered enough drawers. and lets face it, cabinetry is expensive, so it’s not something you want to muck around with.

In store, you’ll sit down in front of a computer and they will create a 3D mock up of what your walk-in-robe will look like. I’m a visual person, so this gets a big thumbs up from me.

Another advantage of going in store is being able to see the colours of the cabinetry in person – this is never a bad thing! You might also see some other options that you didn’t see online that will assist with making your wardrobe the perfect place to prepare for the day ahead.

Once you have finalised your design, you can also choose to have your order delivered to your door. DO THIS! In the wardrobe i just ordered a few days ago, i have 72 pieces coming. yep, that’s 72 boxes. Imagine trying to fit them into the boot of your car…oh – that remind me of a little cautionary tale I have…..

….last build I decided that it would just be easier if I went and picked it up myself. Listen to me when i tell you THIS IS A BAD IDEA. Long story short, I got there late (surprise surprise!) when IKEA was about to close and was left with a 14 year old attendant who, out of the goodness of his own heart, made his mum wait in the car when she came to collect him while he helped me load up a SHIT TONNE of boxes into Dave’s ute. Those boxes are DAMN heavy, and between the two of us, you would have seen more muscles on a mosquito. In the process, I managed to get my finger jammed in between two enormous boxes and I felt so bad for this kid stuck helping me out that i didn’t want to say anything.

So trust me. Put the keys down and step away from your vehicle.

I REPEAT, STEP AWAY FROM YOUR VEHICLE. Get it delivered. It’s worth every damn cent.

I hope this little blog has been of some use to you. I have my delivery coming in the next few days, so between now and my next blog, my hands will have permanently transformed themselves into Allen keys from putting all 72 boxes together……

Happy PAX planning,

Jojo. xx

Budgeting for Your Build

Building

Money…..cringe.

Budgeting…..bigger cringe.

I have great news….I’ve done the hard work for you! If you’re building, planning a reno or wanting to do any of the above, then I have created the perfect budgeting tool, customised just for you!

It’s a very simple and easy tool to use. Start popping in your quotes as you receive them, and the tool will start adding up your spend. I’ve also included a 10% contingency back up in your budget so it’s covering unforeseen costs you might experience along the way.

It also tracks your spend as you pay bills, showing you how much of your build you have paid, and the remaining amount left to pay. #partytime

I hope you can find it of some benefit to you. I love to be able to help out where i can, so please feel free to send through some feedback, or questions!

Best in The Business!

Building, Decor, Home, Styling

It was love at first sight.

The moment i laid eyes the amazing spaces Three Birds Renovations created, i knew I had to work with them. The opportunity arose to be part of their Reno School community and as soon as i signed up, i sunk my teeth so deep into the modules and i was literally swimming with ideas, strategies and a whole lots of interior inspiration…and it came at just the right time, we had started planning our next building project, and i was in need of a little direction and reassurance. Despite this being our third construction project, it was the first time we have decided to take on….HOLD YOUR BREATH….an owner build. Looking back now, i can’t even imagine what we were thinking. Probably something along the lines of

“we’ve built before, surely it cant be that hard

(Insert future Jo’s eye roll and forehead slap). Rookies. We had no idea what we were getting ourselves into, but thankfully The Three Birds did, and the guidance they have provided through the use of their Reno School program has been incredible. A life saver, and a real game changer. You would think that the concepts of renovating and building would be vastly different, but what i have come to realise is that the planning and preparation is so similar. Despite this being a ‘renovation’ guide, it REALLY works for a new build to. The modules within the program include the areas of planning, finding the right trades, and planning stunning interiors, kitchens, bathrooms and laundries. They also offer advice on how to transform the exterior of your home as well. No stone is left un-turned!

And then this happened….Meeting the Three Birds Renovations girls was beyond fabulous. They are as down to Earth, helpful and as gorgeous in person as you could imagine they would be. During their guest appearance at the Sydney Home Show, they spoke candidly about their work and offered tips and tricks to bringing your dreams to life. I only had one question for them:

“How do you convince you builder…AKA husband…that white everything is a good idea?”

Thankfully Dave was with me at the time, and heard it straight from the source.

“It just is. It always is. Trust in your wife, she knows what she is doing.”

THANKS BONNIE!

I’m not going to lie and say that this piece of advice has avoided further arguments, but I can tell you that line is used over and over again when Dave tries to take the reigns on the design front! They reminded me to go with my gut instinct on design and to follow with my heart. That our home is our sanctuary and it needs to be a place we fall in love with over and over again when we wake up each morning.

So if you’re not sure where to start on your building or renovating journey, i can not recommend highly enough The Reno School by the Three Birds Renovations. You’ll find their content informative while also thoroughly enjoyable. They also offer amazing discounts to their tribe which can really save you a bundle. Their online videos make you feel as though you are a part of their design conversation and also offer plenty of laughs in what can be a really stressful experience.

I’d like to personally thank these amazing women for being so open in sharing their knowledge and advice and for letting me be a part of it. And also for giving me a little ammunition in the ‘creative discussions’ (that’s a nice way of putting it, right?) that i have with my husband when I inform him of my next design choice!

I owe you one girls…!

I can’t wait to share my spaces with you a they are brought to life. Make sure you are following along over on my design page, @dreaminginteriors to keep up to date with all the progress – wont be long now!

If you’re currently building, about to build, want to build, plan to build in the future, want to reno your current house, have a reno project you’d love to tackle, or are even slightly interested in any of the above, you HAVE to pop over and check out The Three Birds Reno School. Click HERE to find the answer to ALL of your questions!

Finding A Gem on Facebook Marketplace

Styling

It sounds pretty easy, right? You know what you want, so just go ahead and search for it! You want a table – search ‘table’. You want a mirror – search ‘mirror’….If you want to spend hours upon hours of scrolling through crappy, unwanted, broken legged tables, sure – go for it! But if you want to find what you’re looking for quicker, without sifting through the junk, keep on reading for my hot tips on how to find hidden gems among the mass of items listed on Facebook Marketplace!

Timing is everything! When do you think most people clean out their houses and desperately want their excess goods gone? WEEKENDS! I find the best time to search the book is on a Sunday evening. New items are listed every minute, but i find that there are so many more goodies on a Sunday night. So grab a cuppa, and start scrolling!

Chose your words. We tell our kids to – it’s time we practice what we preach! If you’re looking for a mirror, you need to be more specific. Is there a particular style? Colour? Shape? For example, you could search ‘antique brass mirror’ or ’round matte black mirror’. Sometimes it helps to put yourself into the shoes of the seller too…if you were selling it, what would you call it? Giving a little extra detail will go a long way in narrowing down the piece your after.

How far are you willing to travel? On the Facebook Marketplace App, in the top right hand corner, there is a location symbol with a distance displayed next to it. You have the option to customise your search by of selecting how far away you want the items shown to be. You can select anywhere between 1-200km away. Personally, I don’t mind a bit of a road trip, and I believe that the right piece is worth travelling for, so i usually leave mine at 200km. However, if you’re after something a little more local, that works too. Just remember – the wider your search radius, the more chance you have of finding exactly what you’re looking for!

She’s a clever little fox, that Facebook Marketplace…it sorts items into categories it thinks you might be interested. For example, the categories currently listed on mine include ‘todays picks’ ‘newly listed in your area’ ‘furniture’ and ‘antiques and collectibles’ (that’s not all there is, i will spare you the details!) You can expand these categories to see what Facebook thinks you would be interested in. There is a particular category that i love the most, and that’s ‘other people also viewed’. I like it because it gives you an idea of what people with similar tastes and style as you might also be interested in. But be careful, soon you’ll be scrolling antique hat boxes that you never realised you so desperately wanted until now! (sharing this example for a friend. I’ve never been up until all hours, lost in a rabbit hole of goodness like that…..)

Look beyond what you see! Sometimes what you’re looking for is right in front of your eyes, you just can’t see it beneath the horrible print, or the hideous colour. If you’re not afraid of a little bit of DIY, you can bring so much life to old pieces. The satisfaction of finishing a project and having something that is uniquely yours is like no other! So open those eyes to all the possibilities!

People are getting rid of these pieces because they no longer want them around their house anymore. Yesterday is generally when people want them collected, so do everything you can to be there as soon as you are able. Some sellers are willing to hold pieces for the first person interested, simply out of the goodness of their heart…where as other sellers will list it as ‘first available’ which means you might lose out if you cant get there immediately. If i need a seller to hang onto something for a week or two (remember I said i don’t mind a roadtrip and will search for items in a 200mk radius?) I will always ask them if they want me to pay a deposit. I’ve actually never had to do this, most of the people that I have bought from have been legitimate legends. But you do get the odd heartless beast who sells that antique pink velvet chaise lounge from under you…

I hope these tips have helped out a little. I’d LOVE to hear from you if you feel like this has helped you find that perfect piece on Facebook Marketplace. Drop a comment below or hit me up on Instagram – i’d love to chat with you!…and remember – most of the time you are going to a strangers home – be smart, be safe and take a friend along for the ride!

Books You Need

Decor

They are my obsession and I just can’t get enough! I know it’s true love – because the time between ordering them online and them arriving on my doorstep – i experience absolutely NO buyers remorse! I love the look, the feel and the mood that is created by a stack of books that are placed in just the right place.

Books don’t always have to be purchased brand new, from your favourite book store, or online. Lets talk location, location, location!

Op Shops: Some of my prettiest pieces have been vintage finds sourced from op-shops and bargain centers Removing the dust jacket can expose the most gorgeous linen spine with gold foil writing…you just have to look a little deeper than the worn and torn dust jacket.

DIY: Find an old book and show it some lovin’! Nope – you don’t have to wine and dine it, but if you are into a little bit of DIY you can completely transform an old book into something amazing with some chalk paint, some gorgeous linen or even wallpaper scraps. Recently, in Aoife’s room reveal which was featured in minty Magazine, I found some 50c books from a local op-shop and covered them in different shades of pink linen. A very pretty, yet simple addition to her space.

Online: You guys know I LOVE The Book Depository. They always stock the latest titles, generally have some pretty decent discounts and offer free shipping world wide. They are my go-to and first port of call when I am looking for new coffee table pieces or books for Aoife’s room.

So what books can I NOT LIVE WITHOUT? Here they are! I’ve popped links through to where you can purchase them.

1. Chanel 3. Hardback. Francois Baudot & Francois Aveline. Book Depository.

2. It. Hardback. Alexa Chung. Book Depository.

3. Elements of Style. Hardback. Erin T. Gates. Book Depository.

4. Christian Louboutin. Hardback. Christian Louboutin & Phillipe Garcia. Book Depository.

5. Tom Ford. Hardback. Tom Ford & Bridget Foley. Book Depository.

6. Valentino: Themes and Variations. Hardback. Pamela Goblin. Book Depository.

7. Chanel Catwalk. Hardback. Patrick Mauries. Book Depository.

8. All In Good Taste. Hardback. Kate Spade New York. Book Depository.

9. Cupcakes and Cashmere At Home. Hardback. Emily Schuman. Book Depository.

9. The Little Book of Fashion. Hardback. Christian Dior. Book Depository.

11. Chanel: Collections and Creations. Hardback. Daniele Bott. Book Depository.

12. Oscar De La Renta. Hardback. Andre Leon Talley. Book Depository.